
A display issue on an LED screen can bring a business to a standstill. Here you’ll find an overview of each type of fault, from flickering to dead pixels, to ensure the reliability of your LED display. Understanding LED screen fault diagnostics helps minimize interruptions and enhance the quality of your installations.
Why Your LED Screen Isnt Displaying an Image
A black screen often indicates an upstream fault, such as a failing power supply or a poorly connected cable. Before examining the electronics, first check the physical installation.
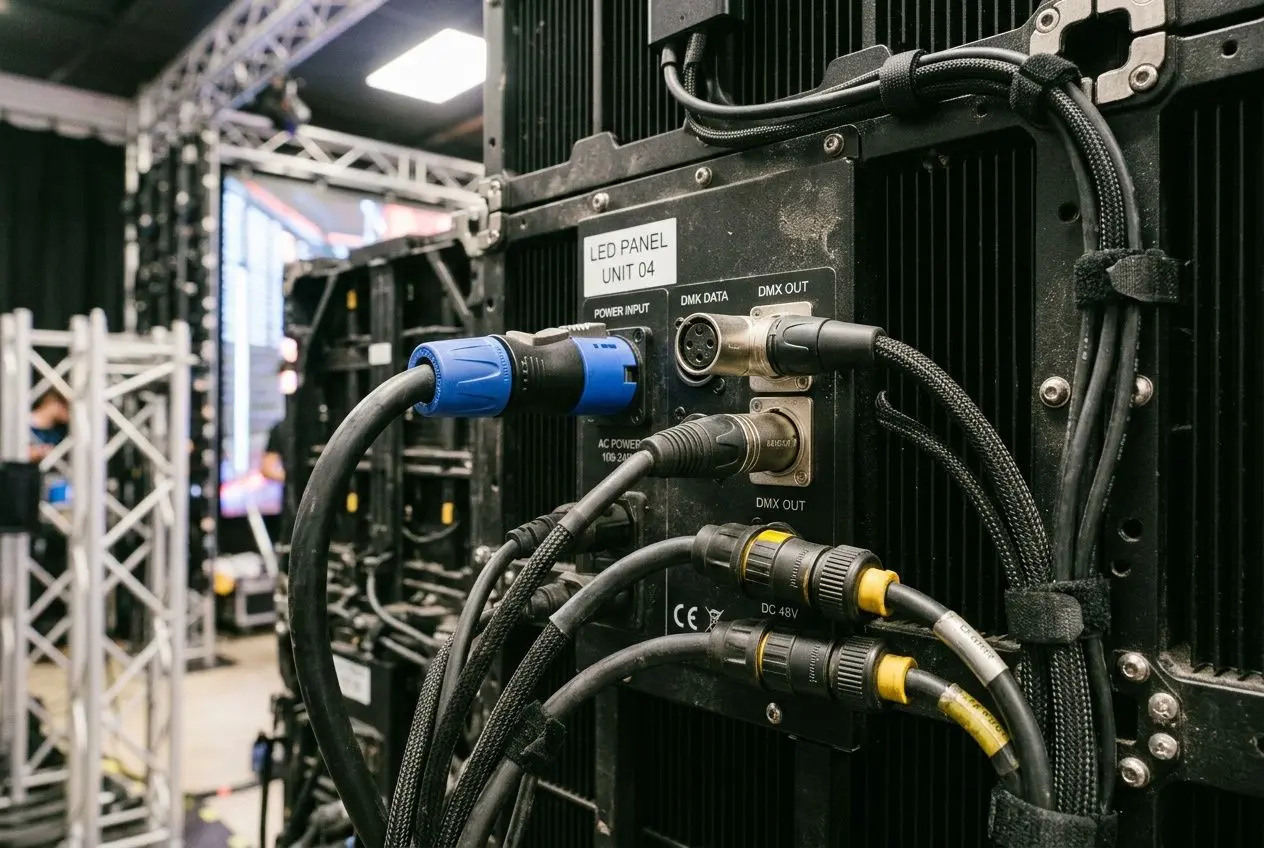
Reading the Receiving Card Indicator Lights
The receiving card has valuable indicator lights to locate errors. A blinking or steady red light indicates correct power. A slowly blinking green light confirms proper video signal reception.
- No red light: Power is not detected—check the plug and mains connection.
- Fast red light: Current is flowing; the fault lies elsewhere.
- Slow green light: Video signal is arriving; the hardware is working.
- Very fast green light: Firmware update failed—restart it.
Three green flashes followed by a pause means the system is active but receiving no video feed. This indicates a software configuration issue rather than a hardware failure.
Power, Firmware, and Software Configuration
When an LED screen is not functioning, the cause is often incorrect software parameters. A poorly configured receiving card blocks the signal and displays black, even under normal power.
Control software in sleep mode, or set to zero brightness, can simulate a fault. Simply increasing the brightness usually fixes the issue. Overheating can also automatically shut down the screen as a safety measure.
Check the sending card: a green light that’s off means no signal is being transmitted. Restart the configuration and confirm that the graphics card is set to “Duplicate” or “Extend” mode.
Cables and Faulty Connections to Inspect
A faulty HDMI or DVI cable connection causes instability, or even a black image. A misaligned flat cable or an overly long cable network also degrades the signal. Inspect every port carefully.
Test your installation with another cable to rule out physical panel defects. The connection pins should be intact and clean. Replacing a worn cable can instantly restore optimal image quality.
Resolving LED Screen Display Issues
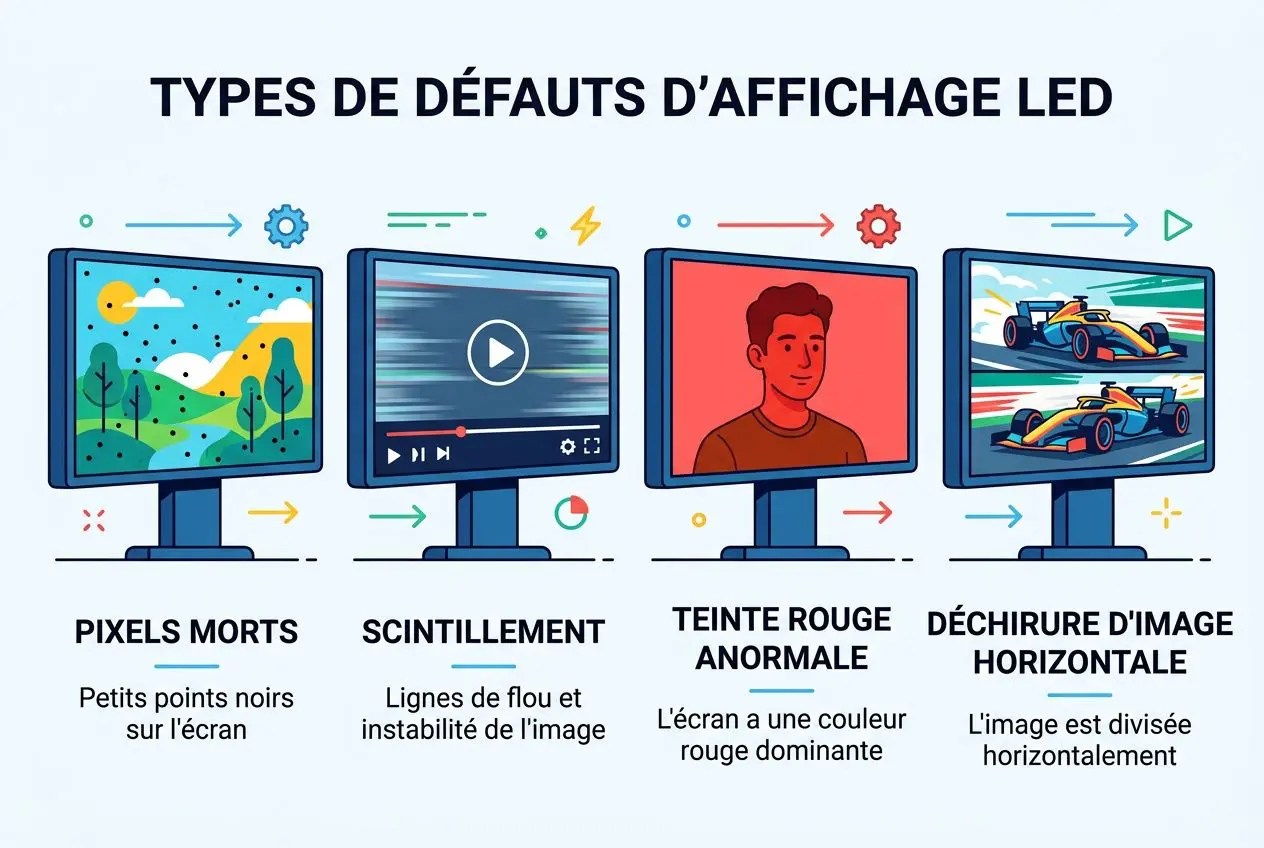
An LED screen display problem can range from isolated dead pixels to significant color shifts. Each symptom generally has a distinct cause that must be identified with precision. To resolve these issues, a technical approach tailored to each type of display problem is recommended.
Dead Pixels and Dark Zones on the Image
These black dots on your LED screen are often caused by a faulty circuit. A specialized tool can be used to electrically stimulate the LED display and reactivate the inactive point. This allows you to resolve an LED display problem without physical intervention.
Sometimes, gently massaging the area with a microfiber cloth is enough to wake the diode. If that doesn’t work, a multimeter helps detect the fault so you can replace the LED module in question. Also check the power supply and solder joints to repair any defects.
Flickering, Distortion, and Image Tearing
Flickering often comes from an inadequate cable or a poor cable connection. Using a high-quality shielded cable usually corrects the anomaly. A distorted image usually signals a synchronization issue.
Ensure that the resolution and refresh rate match the screen’s specifications. Reload the configuration via the control software and test with a shorter cable. Flickering problems often disappear when changing the cable between the sending card and the modules.
| Problem Type | Probable Cause | Immediate Solution |
| Global Flickering | Poor-quality or loose network cable | Replace with a short, high-quality shielded cable |
| Horizontal Image Tearing | Inappropriate refresh frequency | Check source/screen sync, reload configuration |
| Full-screen Distortion | Network cable or synchronization issue | Test with a replacement shielded cable |
Abnormal Colors and Brightness Variations
Uneven brightness or incorrect tones often come from a poor setting or a localized failure. Each pixel uses three diodes; if one weakens, the color becomes abnormal.
Thorough calibration via the control system is essential. Check every connection for corrosion or poor contact. Also ensure that the video source matches the screen’s native format.
Preventive Maintenance and LED Screen Lifespan
A well-maintained LED screen regularly exceeds 100,000 hours of operation. This longevity rests on three pillars: stable power, rest periods, and rigorous heat management. Simple maintenance prevents failure and preserves optimal image quality year after year.
Overheating, Shutdown, and Thermal Management
Understanding why an LED screen keeps shutting off often leads to an overheating issue. The system then activates a protection that cuts power to save the diodes. Our models integrate sensors that monitor heat and adjust brightness to prevent overheating.
- Cleaning the fans: removing dust from grilles significantly improves airflow.
- Space around the screen: keep 10 cm clearance on the sides for proper ventilation.
- Reducing brightness: setting it to 80% instead of 100% noticeably extends LED lifespan.
In confined areas, additional active cooling may be necessary. Adjusting brightness according to the room also prevents triggering safety shut-offs. A simple practice that effectively prolongs your equipment’s life.
Regular Maintenance to Preserve LED Image Quality
Good LED screen fault diagnosis helps detect early wear. Cleaning dust, checking every connection, and performing color calibration every six months are essential practices. They preserve clarity and richness of the image over time.
- Monthly cleaning: use a dry microfiber cloth, no alcohol or solvent, to avoid damaging coatings.
- Cable inspection: tighten connectors and inspect ends every three months to prevent oxidation.
- Biannual calibration: this compensates for the natural chromatic drift of blue and red diodes.
Prefer original or certified parts to guarantee perfect compatibility. Consult the guide for your custom LED screen to locate critical components. This helps you build an appropriate spare-parts inventory.
Turning the screen off for several hours each day allows the electronic components to cool, reducing thermal fatigue. This routine extends longevity and improves the stability of the overall control system.
Signs of Wear and Replacement Planning
Diminished brightness, yellowing tones, or excessive heat are signs of advanced wear. They typically appear after 8 to 10 years of intensive use. It’s time to schedule major maintenance or replacement.
A 30% loss of brightness, even at maximum setting, indicates significant LED aging. Permanent color distortions confirm the product is nearing end-of-life. Anticipating replacement avoids sudden interruptions and unexpected costs.
Frequently Asked Questions
How do I diagnose a fault on my LED screen?
First, check the power supply and the indicators on the receiving card. A red light confirms current presence; a blinking green light indicates good video reception.
Next, inspect the cables for poor connection or damaged wiring. Abnormally blinking indicators often require a receiving card firmware update to resolve these LED display problems.
A black screen with normal indicators points to another fault. The problem likely lies with the sending card or the control software.
Can I fix dead pixels, or do I need to replace the whole screen?
It’s possible to repair isolated dead pixels. Specialized software can sometimes reactivate them by sending targeted electrical stimuli.
If this method fails, replace only the faulty LED module. This economical solution precisely targets display problems without affecting the rest of the LED screen.
If defects cover more than 5% of the surface, replace the entire panel. Beyond this threshold, full replacement becomes more cost-effective than multiple repairs.
What is the real lifespan of an LED screen and how do I prolong it?
A well-maintained LED screen easily lasts more than ten years. To achieve this, set its brightness to 80% of maximum—this is the single most effective gesture.
Clean the ventilation regularly and check every connection. Daily shutdowns of several hours also preserve the quality of your LED display.
Longevity ultimately depends more on maintenance than on brand. Thus, the effects of LED screens over time rely on your good practices.