
Diagnosing an LCD display problem follows a symptom-cause-action logic: dead pixels, black screen, flickering, or color drift each point to an identifiable technical cause, ranging from software and display parameter checks down to examining the LCD panel or display module itself.
Signs and symptoms of an LCD display problem
LCD screens work with liquid crystals that modulate light emitted by a backlight placed behind the panel. This architecture explains a large part of common LCD display defects: loss of brightness, limited contrast, more sensitive viewing angles, and in some cases, a partial or completely black screen. Among the LCD disadvantages, the dependency on backlighting and power supply remains a classic point of vigilance.
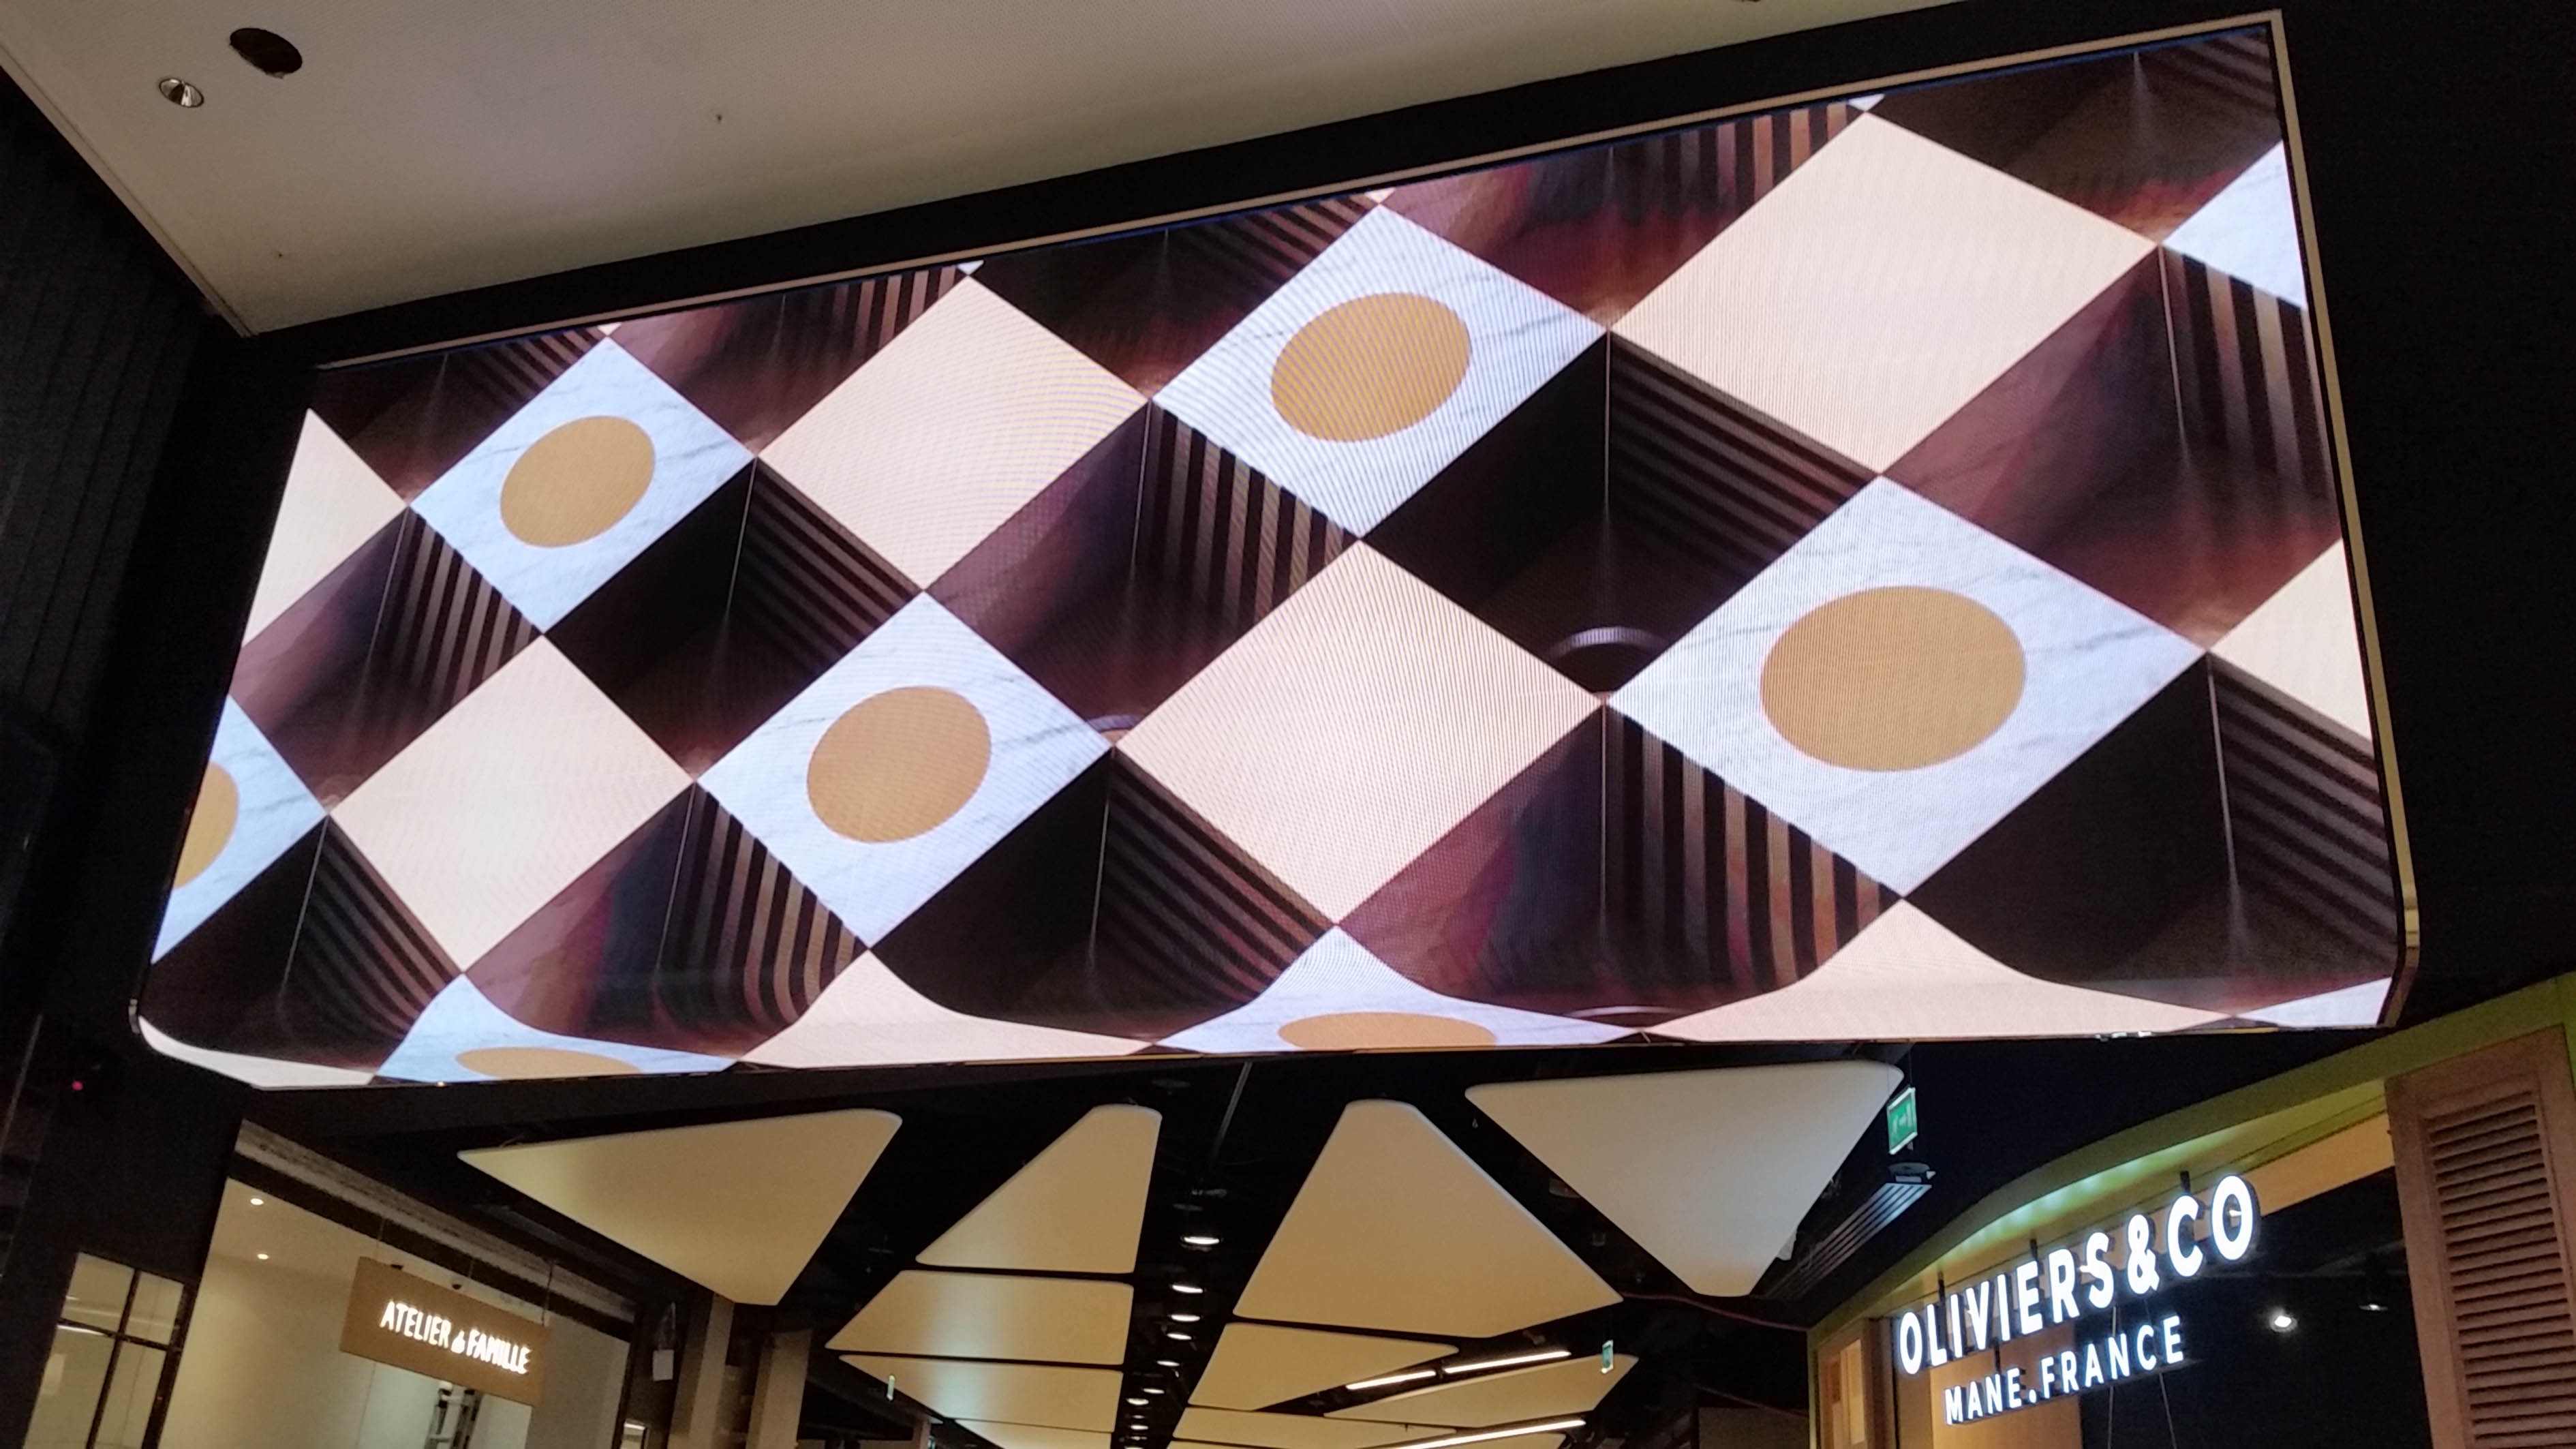
Dead pixel on an LCD screen and stuck pixels
On an LCD display, certain defects are visible to the naked eye as fixed dots. A dead pixel on an LCD screen appears black permanently, while a stuck pixel remains frozen on a single color. This distinction matters because it determines the next steps: a software attempt in one case, or panel replacement in the other if the defect becomes overwhelming.
The ISO 13406–2 standard classifies LCD screens according to an acceptable number of defects per million pixels. When dead pixels multiply or form a continuous zone, the failure is no longer isolated: it affects the LCD display panel or the LCD module as a whole. In real-world installation, this threshold determines whether handling or repairing the screen remains worthwhile.
- Dead pixel: permanent black dot, not recoverable by software, sign of a definitive local failure.
- Stuck pixel: sub-pixel frozen on red, green, or blue, sometimes recoverable via rapid-stimulation software.
- Pixel cluster: group of adjacent defects, often linked to a shock or internal degradation of the LCD module.
Pixel-stimulation software like JScreenFix or PixelHealer rapidly cycles through several colors to stress sub-pixels. This method can unblock a stuck pixel, but it does not correct dead pixels. The difference comes down to integration: an isolated point sometimes remains acceptable on a secondary screen, while a cluster near a reading or dynamic display zone more quickly justifies replacement.
Black screen, flickering, and altered colors
A black LCD screen while the device still boots correctly first points toward the backlight or power supply. The backlight illuminates the LCD from behind: if it stops working, the image may still be produced but become nearly invisible. A simple test consists of shining a lamp on the panel at an angle. If a weak image appears, the failure most likely comes from the backlight. Conversely, a black screen with no image perceptible even with external lighting more often points to a failure of the display panel or LCD panel.
Flickering primarily affected older CCFL-tube models, especially as power supply aged on 24-inch formats around 30 W. Newer versions reduced this phenomenon, but it can still appear if the brightness-management circuits wear out. For color drift, the rendering depends on two families of causes: improper display parameter settings, or internal wear of the LCD display panel.
Physical damage and aging of the panel
Certain defects leave little doubt. Cracks, fine fractures, stable black spots, or internal leakage signal an LCD panel past its service life. Even very localized impact can disorient liquid crystals over a wide area and render the LCD display unusable. In this case, neither rewiring nor software corrects the failure.
Aging, on the other hand, installs more gradually. Reduced brightness, color drift, multiplication of dead pixels, or an intermittent black screen are among the common defects observed on older panels. Insufficient thermal dissipation accelerates this failure and reduces the lifespan of the backlight, especially for CCFL generations rated around 10,000 hours under variable usage conditions. What the eye retains is the regularity of the defect: if it progresses over time, the diagnosis must cover the entire display panel, not just an isolated setting.
Step-by-step diagnosis of an LCD screen failure
Isolating the origin of an LCD screen failure requires a clear method. Each check eliminates a hypothesis and conditions the next check: a properly ordered diagnosis avoids replacing a healthy component. The starting point remains visual observation, before any power, connection, or driver verification.
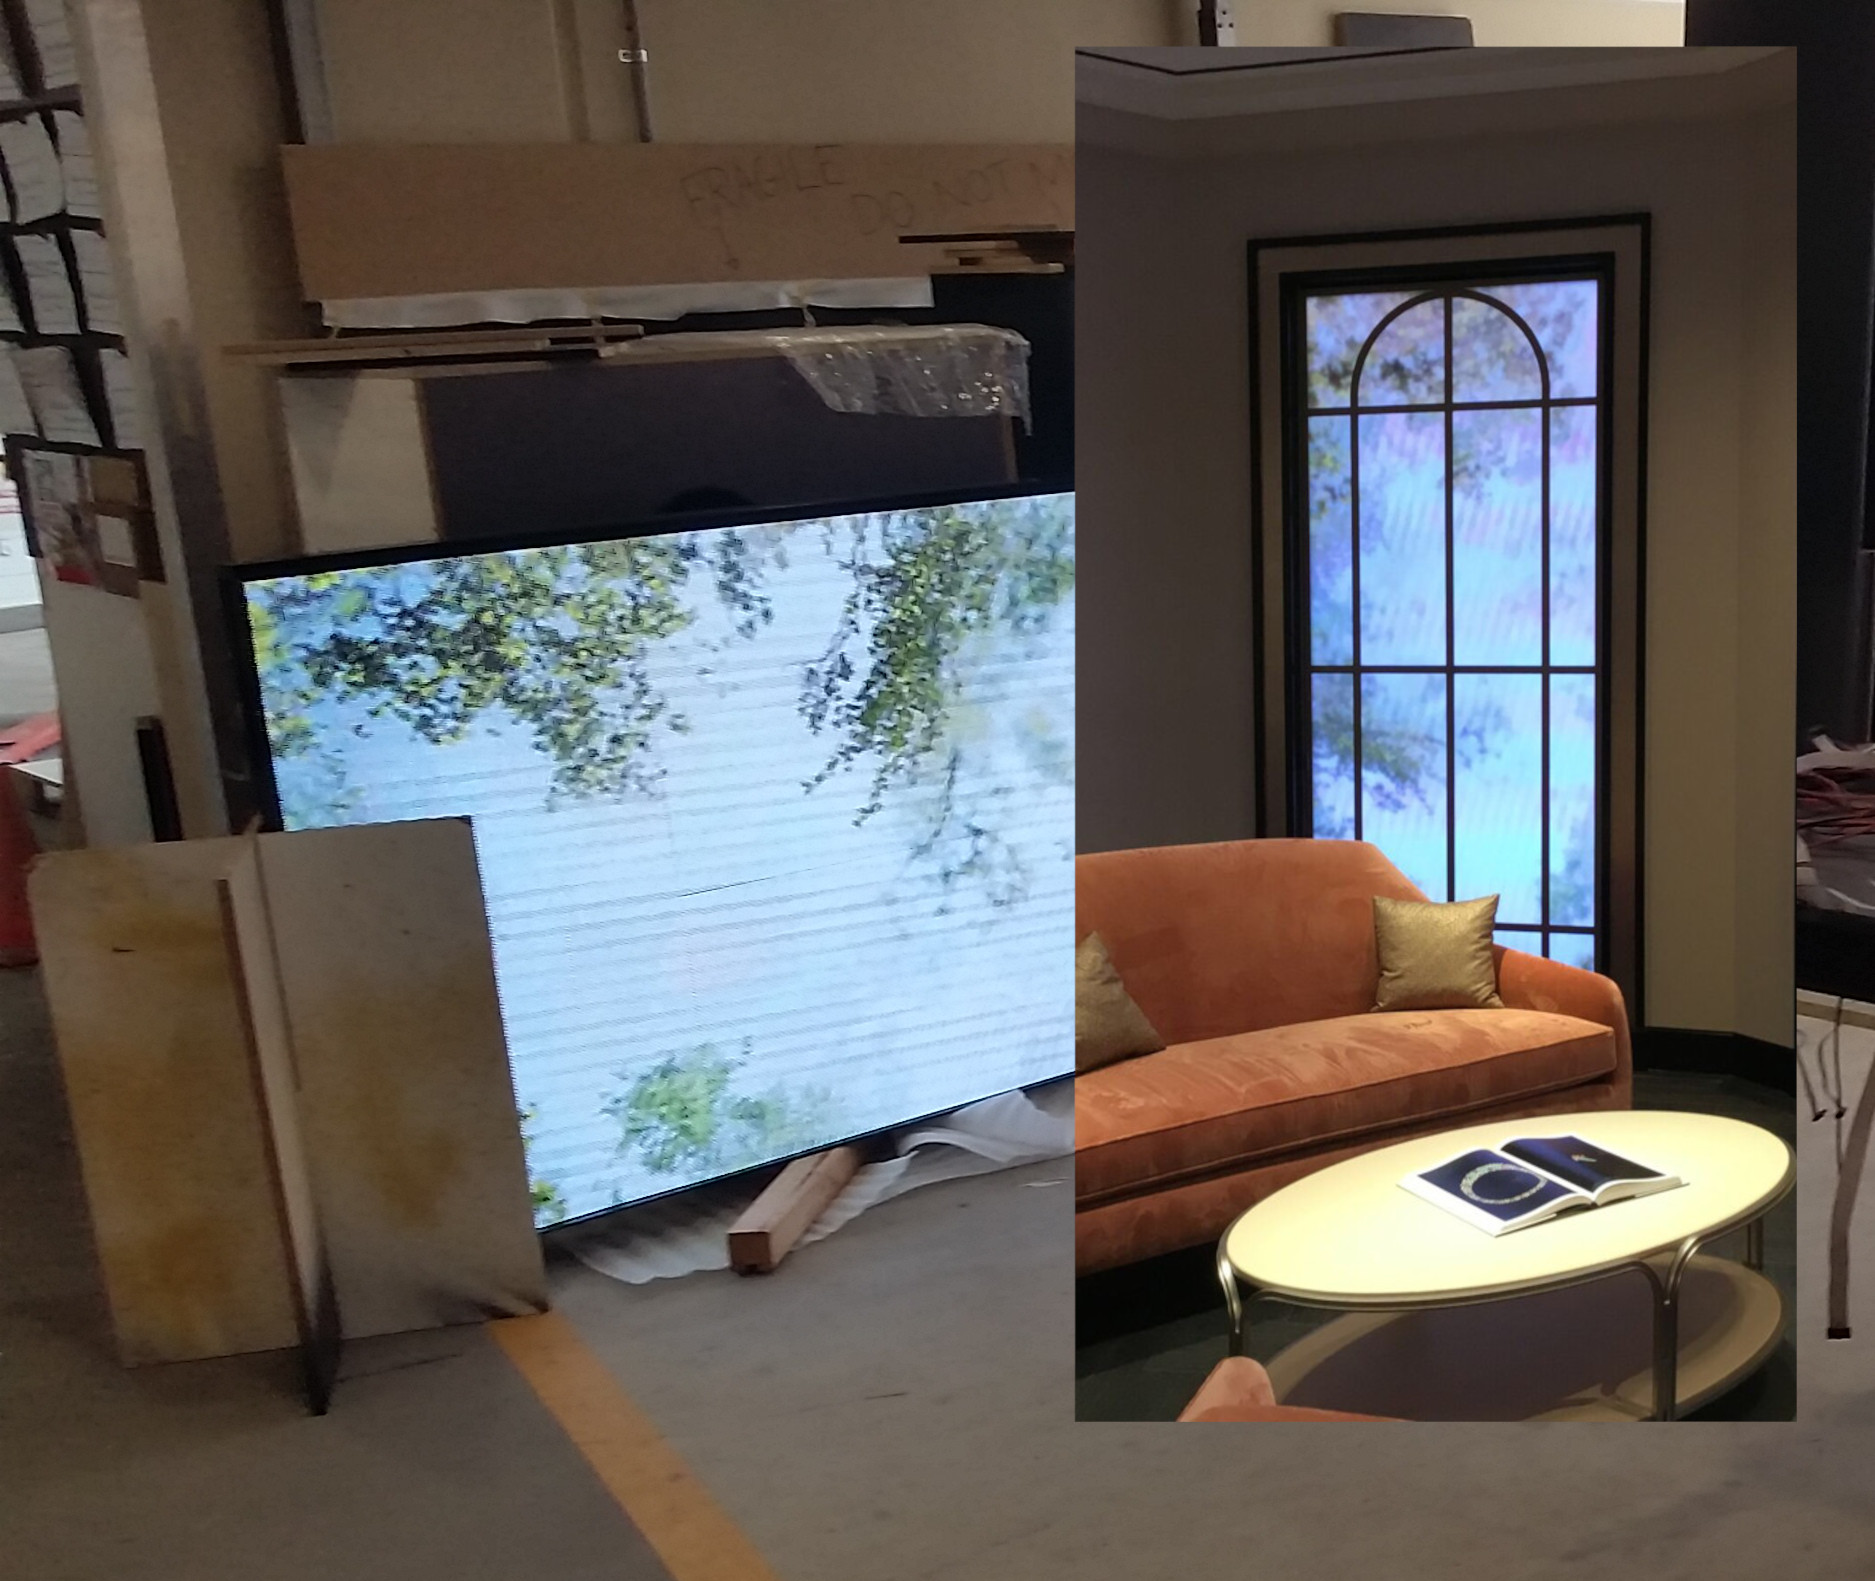
Visual and electrical tests to identify screen pixel problems
The first triage is visual. Cracks, scratches, delaminated areas, or visible screen pixel problems immediately point toward the LCD panel, while an absent image without visible damage keeps the backlight, power supply, and operating system paths open. If the LCD screen does not turn on, or only intermittently, this initial observation already saves time.
The power-on test then refines the diagnosis. A black screen with the device on may reveal a backlight failure, while barely visible image under a flashlight often points to the same area. Conversely, phantom images, partial display, or color drift more often point to a panel or command circuit failure.
On the measurement side, expected values serve as concrete reference points: LVDS voltage sits around 1.2 V on RX+/RX, with approximately 200 mV differential and 100 ohms resistance. VDD should be 3.3 V, Vin input 12 V. Their absence generally suggests a power defect, blown fuse, damaged connectors, or broken connection.
The check continues with VGH and VGL: approximately +30 V and −6 V. As soon as these rails drift, the failure may come from a COF-IC, a DC/DC loop, or an internal distribution stage. The symptom points the way; measurements confirm.
External monitor test and wiggle test to locate the failure
Once this first level is validated, the external screen test becomes decisive. It quickly separates a local LCD panel failure from a broader issue linked to the graphics card, drivers, or operating system. If display is correct on the external screen, the search should focus on the internal connection, ribbon cable, connectors, or the display module itself.
If the defect reproduces on both outputs, the logic changes. The cause traces back to the video processing chain: corrupted driver, failed graphics card, or out-of-service hardware output. For a total LCD screen failure, this test avoids opening the device too early.
The wiggle test complementarily enriches this step. By gently wiggling cables and connectors during operation, it becomes possible to spot a defective cable, worn ribbon, or bad contact. On a laptop, repeated lid-opening stresses often weaken the connection well before the panel itself.
| Observed symptom | Probable cause | Recommended test |
| Black screen, device on | Faulty backlight or power supply | Flashlight test on panel |
| R/G/B vertical lines | Faulty LVDS connection or ASIC NG | LVDS voltage measurement, connector verification |
| Intermittent flickering | Loose cable or unstable power | Wiggle test, power supply check |
| Washing out by angle | Abnormal VGH/VGL voltage or damaged polarizer | VGH (+30 V) and VGL (−6 V) measurement |
| Left/right halves different | Abnormal RSDS signal or faulty S‑COF-IC | ASIC and COF inspection |
The table directs which component to verify before any device opening.
How to fix a display bug on LCD screens
The diagnosis directs everything that follows. To resolve display problems on LCD screens, two causes dominate: software issues on one side, and hardware failure on the other. Starting with software avoids disassembling a device when a driver, setting, or system connection suffices to correct the LCD display.
Software solutions and driver updates
Graphics drivers constitute the first control point. In Device Manager, uninstalling the versions in place and reinstalling the manufacturer-certified driver resolves a large share of screen-related incidents.
A safe-mode boot then refines the diagnosis: if the image becomes stable, the origin is almost always software. A complete operating system update can then resolve remaining incompatibilities between the kernel, the video driver, and LCD display components. Conversely, if the defect persists, the hardware path becomes priority.
- Graphics driver update: go through the official graphics card manufacturer website rather than Windows Update to get the most recent certified version.
- Electrical reset: cut power, remove the battery if accessible, then hold the power button for 30 seconds to discharge residual static electricity.
- BIOS reset: remove the BIOS battery to return to factory settings if improper display peripheral management blocks boot.
Reconnect cables and replace the defective panel
Once the cause is no longer software, LCD screen repair begins with the safety procedure described above, circuits discharged. Then, the LCD cable must be unplugged and re-plugged carefully at both ends. In real installation, poor seating of connectors often suffices to produce unstable image, cutouts, or a LCD display panel that shuts off intermittently.
Cleaning connectors with compressed air to remove dust can also restore a clean connection when oxidation creates a false contact. If the LCD screen is faulty due to internal cracking, spreading dead pixels, or persistent degradation despite rewiring, replacement becomes the only reliable option.
In this case, the screws holding the LCD display panel must be removed and the cable disconnected methodically. Once installation is complete, the difference comes down to integration: exact panel reference, ribbon type, fastener position, and electrical compatibility. On large formats, the panel cost often exceeds 60% of the device’s market value: comparing the two figures before ordering guides toward an upgrade rather than an identical repair.
Going beyond LCD limits with LED technology
When successive repairs fail to restore stable LCD display, technological replacement becomes an option to evaluate on both technical and economic grounds. On this terrain, LCD screens often ultimately hit design constraints that neither a driver, nor rewiring, nor display parameter adjustment corrects permanently. It is then necessary to distinguish an isolated failure from structural limits, to determine whether the shift to LED makes sense.
Why LCD screens reach their structural limits
The most pronounced LCD limitations come from their architecture: the panel does not produce its own light, it depends on backlighting. In practice, brightness often stays between 500 and 800 cd/m², with contrast around 1,000:1. As soon as the environment is very brightly lit, readability drops noticeably.
- Contrast limited by design: a constant backlight prevents achieving deep blacks, even after fine adjustment of the usual display parameters recommended for LCD screens.
- Sensitive uniformity: edge-lit models more easily show brightness disparities, especially at corners.
- Backlight aging: a CCFL system generally reaches 10,000 to 20,000 hours before visible attenuation, which exacerbates display problems at end of cycle.
- Restricted viewing angles: on a TN panel, color degrades from 30° of tilt, limiting use in collective consultation.
Thermal issues add to this. Insufficient dissipation accelerates component wear by about 40%, and this degradation eventually weighs on LCD display stability. The difference comes down to integration: an enclosure without airflow, or installed in too tight a box, suffers brightness and color drift more quickly.
Concrete advantages of switching to LED panels
The brightness of a professional LED screen reaches 5,000 to 10,000 cd/m², while contrast exceeds 5,000:1 thanks to local dimming of certain zones. Rendering depends on content quality, but also on color coverage: a DCI-P3 space adds about 35% more richness compared to a standard sRGB panel. In real-world installation, this gain becomes visible as soon as the screen must stay readable in a storefront, a brightly lit hall, or a semi-outdoor environment.
- Reduced consumption: at equivalent brightness, an LED panel consumes 30 to 50% less than a CCFL system; a 65-inch LED can drop to 80 W versus 120 W for its LCD equivalent.
- Increased longevity: diodes reach 30,000 to 100,000 hours of operation, reducing the frequency of failures and interventions.
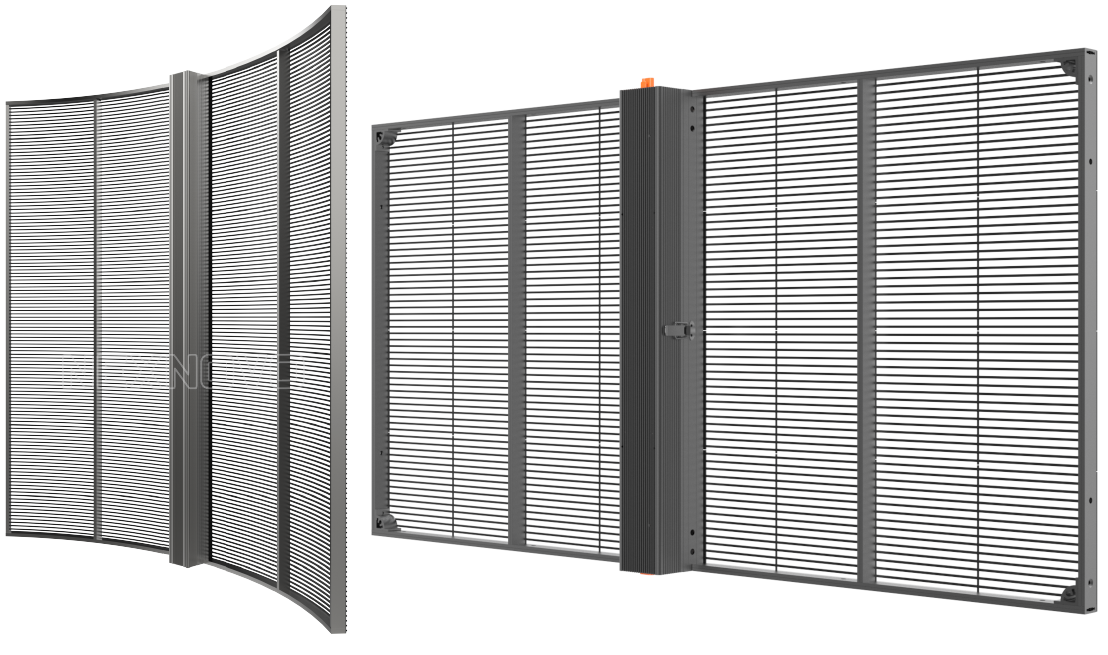
- More free-formats: LED modules allow curved, spherical, or borderless surfaces, with IP65+ protection suited for outdoor installations.
- Stable reading at an angle: with 140 to 160° horizontal and vertical, the image remains usable well beyond what TN panels allow, and microsecond response times limit motion blur.
This evolution also changes maintenance. On a large modular surface, a single failed module can be replaced without removing the entire assembly, reducing downtime and limiting renewal cost. For prolonged professional indoor use, targeting 100 to 150 cd/m² and enabling auto dimming preserves visual quality while managing energy.
Frequently Asked Questions
How do I know if my LCD screen is permanently faulty?
An LCD screen is irreversibly faulty when the LCD panel shows visible cracks, permanent black spots, or a clear image distortion. Dead pixels also count: beyond the threshold accepted by the ISO 13406–2 class, the display panel failure is generally considered durable.
The right approach is to distinguish the panel from its backlight. With the flashlight test, a very faint image visible on a black LCD indicates the LCD display still exists, but the backlight or its driver no longer keeps up. Conversely, a completely black screen despite stable power, verified connection, and functional external screen more strongly points toward a complete LCD module or display panel failure.
Color also gives a useful clue: fixed bands, abnormal color casts, or frozen zones often signal internal panel damage. In real installation, the difference plays out in integration between LCD panel, power supply, and video connection.
What are the most common LCD display problems and how to fix them?
Common LCD display problems cover several distinct cases. A black LCD often points to a backlight failure, while flickering more often indicates unstable power or a defective cable. Distorted color, shifting tints, or unstable LCD display more often point to a degraded LVDS connection. Dead pixels, on the other hand, are generally linked to LCD panel aging or a shock.
To make progress without disassembly, it is better to start with what can be corrected without internal intervention: full reboot, electrical reset, graphics driver check, and video source test. As soon as the failure also appears on an external screen, the cause lies upstream of the display panel: graphics card or graphics drivers. A normal external screen, on the other hand, directs straight toward the LCD panel, its internal connection, or the LCD module.
How to restore display on an LCD screen that won’t turn on?
When an LCD screen does not turn on, the first point to check remains power. Insufficient voltage, a worn power adapter, or an unstable battery can prevent the device from booting, or produce a black screen with no usable image.
Once this base is verified, a complete electrical reset often resolves a simple failure: unplug the power, remove the battery if possible, then hold the power button for 30 seconds. This step purges static electricity and rules out a temporary boot failure.
If the device boots but the LCD display remains absent, the flashlight test refines the diagnosis. A faint image confirms the display panel still produces the signal and the failure concerns mainly the backlight, its driver, or its dedicated power supply. This check quickly separates a backlight failure from a panel failure itself, without prior disassembly.