
Installing a giant LED screen is a strategic investment for your visual communication and commercial architecture. This guide presents the essential steps to successfully install a giant LED screen, from the preparatory phase to commissioning. You’ll discover how to execute your project while optimizing all technical aspects.
Installing a Giant LED Screen Step by Step
Setting up a giant LED screen generally takes about eight weeks of carefully organized work. This process includes analysis, design, assembly, on-site mounting, and software configuration. An expert supervises each step to ensure smooth operations all the way to the first light-up.
Unpacking, Assembly, and LED Screen Wiring
Installing a giant LED screen always begins with the careful unpacking of LED modules. At least two technicians must handle the structure with care to avoid damaging the edges. This rigor in handling is essential to guarantee flawless visual quality.
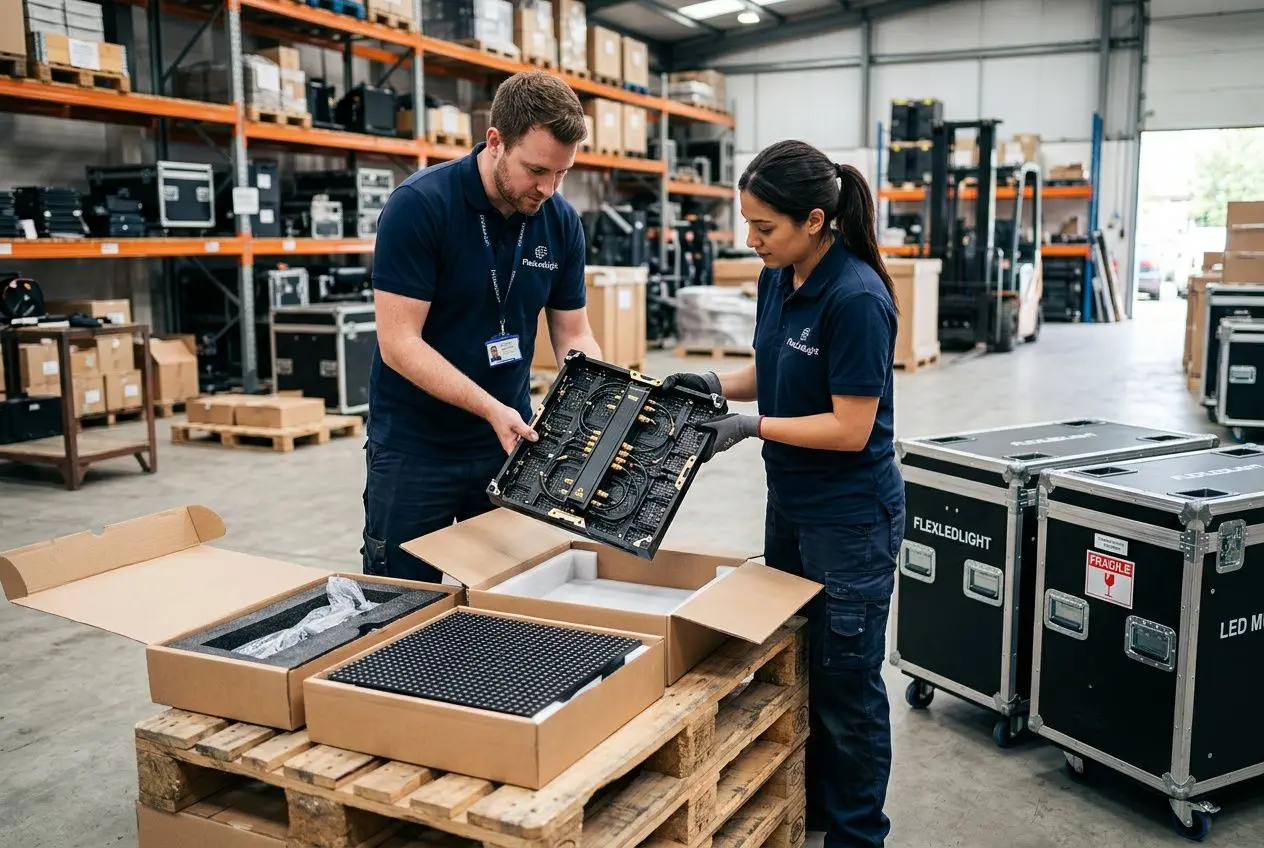
- Easy-Lock mechanisms : robust fixtures ensure excellent installation stability.
- Zigzag wiring : connections are made by column for optimal data synchronization.
- Series power supply : wiring follows a strict factory-standard scheme between each panel.
- Factory testing : pre-tests detect and correct defects before delivery.
Wiring remains the most delicate step, as a single error can cause dead zones or flickering. The technical documentation details every connection with extreme precision. No improvisation is permitted when assembling this high-end equipment.
Startup and Calibration of the Giant LED Screen
The setup steps for an LED screen include software settings and color adjustments. Once physical assembly is complete, the LED screen is powered on to start the operating system. After final calibration, you can stream your content from any connected device.
Colorimetric calibration occurs as soon as the frame is mounted, right before media playback. Brightness must be adjusted according to ambient lighting to maximize image visibility. A poor setting could make the display look dull or dazzle viewers.
The Project Manager’s Role in LED Screen Setup Steps
A dedicated manager oversees every step from contract signing through end-user training. They coordinate logistics, technical teams, and final equipment validation. This supervision effectively anticipates constraints related to the local building’s architecture.
Their expertise guarantees a reliable schedule and transparent communication on timelines. This personalized follow-up accounts for the electrical and visual specifics of your space. As a result, your giant LED screen will integrate perfectly into your commercial environment.
LED Screen Mounting on Wall or Support Structure
Three main installation types exist: wall-mounted, ceiling-suspended, or freestanding floor installation. Each configuration requires specific safety and architectural integration conditions. This initial choice significantly influences visibility, cost, and durability of the project.
Indoor Wall Installation
Installing an LED screen indoors is particularly suited for reception areas or retail spaces. This giant screen integrates harmoniously into the architecture from the design phase. This solution guarantees excellent display exposure and simplifies maintenance through a well-designed system.
- Architectural integration : the equipment fits the wall surface perfectly without occupying floor space.
- Anchor-bolt mounting : anchoring into masonry ensures uniform load distribution for the LED screen.
- Rear technical access : sufficient clearance simplifies routing of video cables and equipment replacement.
Verify the wall’s load-bearing capacity before any mounting. Total weight can range between 80 and 400 kg depending on the pitch and dimensions. The LED screen specification sheet details CE standards and required authorizations.
The mounting support must be able to absorb minor vibrations without degrading. A thorough wind study is often necessary for outdoor installations. Support columns provide essential rigidity to withstand strong gusts on coasts or at altitude.
Suspended, Freestanding, and Custom Structures
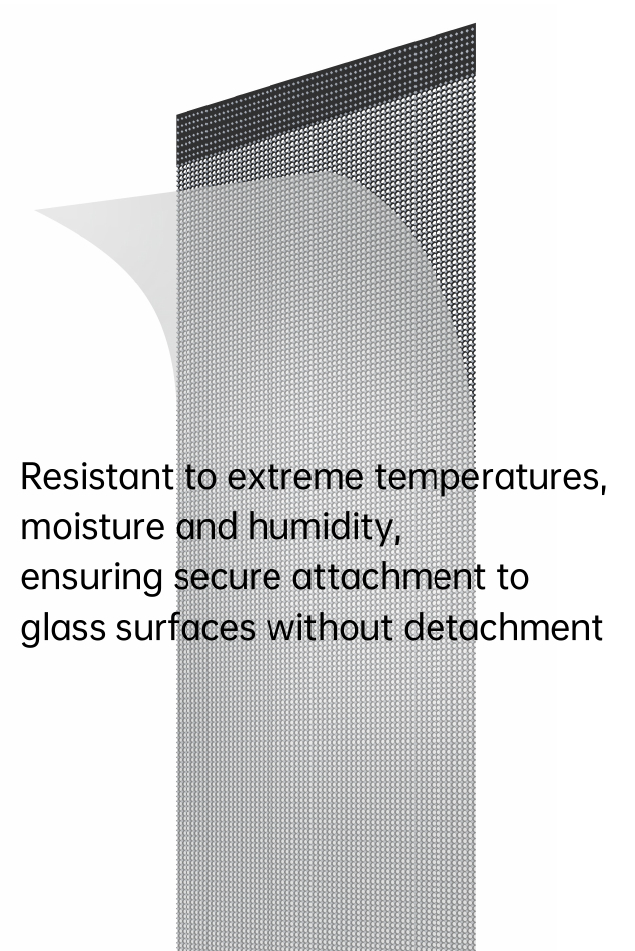
Suspended mounting is preferred in large venues with high ceilings. It provides 360-degree visibility, strengthening the impact of these giant LED screens. Innovative models with glass screens are also available, as transparent LED screens install without complex wiring.
- Certified beams : sizing is calculated by an engineer based on weight and point load.
- Safety chains : the structure includes at least two attachment points and preventive safety cables.
- Floor-standing installation : aluminum legs provide stable support with an integrated anti-tip system.
Mobile or custom systems offer notable flexibility for trade shows. Their modular design allows rapid deployment and technical adaptation without special tools. This considerably reduces logistics costs and on-site intervention time.
Brightness, Pitch, and Technical Performances of Giant Screens
Four essential parameters define display quality: pitch, brightness, refresh rate, and viewing angle. For any giant LED screen installation, you must find the right balance between resolution, visibility, and energy consumption, based on the location.
Choosing the Right Pitch Based on Viewing Distance
Pitch corresponds to the distance between two pixels, a parameter that directly affects resolution and project budget. For an indoor LED screen installation close to the audience, a fine pitch is essential. Conversely, it is crucial to avoid under- or over-sizing to prevent distracting pixelation of text.
- Distance 0.5–1 m : a pitch of P1.5 or finer is required to guarantee comfortable reading even for small text.
- Distance 1–2 m : a pitch of P1.5 to P1.9 offers an excellent balance for commercial spaces.
- Distance 2–4 m : choose a P1.9 to P2.6 pitch for storefronts or small facades.
- Distance 4 m and more : a P2.6 to P4.8 pitch is suitable for maintaining strong visual impact on very large surfaces.
Choosing too fine a pitch unnecessarily increases project cost without noticeable improvement at a distance. Conversely, too coarse a pitch seriously degrades image quality and dissatisfies users. Our reference table guides you toward the most technically suitable choice.
| Viewing Distance | Recommended Pitch | Typical Environment | Minimum LED Screen Resolution |
| 0.5–1 m | P0.9‑P1.5 | Narrow hallway, enclosed storefront | 960x540 (Full HD) |
| 1–2 m | P1.5‑P1.9 | Retail, standard reception | 960x540 |
| 2–4 m | P1.9‑P2.6 | Large store, small facade | 640x360 |
| 4–8 m | P2.6‑P3.9 | Medium facade, public square | 480x270 |
| 8 m and more | P3.9‑P4.8 | Large facade, stadium, event | 480x270 |
Thanks to modern LED technology, there are transparent LED screens that can be easily installed on storefronts. This innovation expands the possibilities of indoor giant screens in retail or tertiary buildings, creating an elegant visual effect with no visible wiring.
Calibrating Brightness for Indoor or Outdoor LED Screen Installation
Brightness, measured in nits, is decisive for ensuring image legibility under varying lighting conditions. Adjustment is made after mounting the structure, but before playing any video content. It is recommended to measure actual light levels on-site at different times of the day.
Indoors, a brightness between 600 and 1500 nits is generally sufficient, while outdoors, it must be at least 5000 nits. Inadequate brightness can reduce visibility or, conversely, cause an unpleasant glare. Fortunately, a custom LED screen installation includes professional calibration for optimal image quality.
Technical Requirements and Ideal LED Screen Positioning
The technical specifications of an LED screen intended for outdoor use must include robust protection against water and weather variations. The lifespan of the diodes often exceeds 100,000 hours of continuous use. Additionally, a high refresh rate guarantees smooth, stutter-free video playback.
The choice of location can be just as decisive as the technology itself for display effectiveness. The viewing angle should naturally capture passersby attention without requiring visual strain. Poor positioning can limit impact even in a highly frequented location.
Any outdoor installation must comply with applicable standards and be approved by local authorities. In this context, giant transparent LED screens represent a remarkable evolution. Their glass composition preserves transparency and offers particularly appreciated visual depth.
Frequently Asked Questions
What is the average lead time for installing a custom giant LED screen?
Installing a giant LED screen generally takes about eight weeks. This timeline covers all project phases: from the initial design to software configuration, including on-site mounting.
A dedicated project manager oversees every installation phase. Their role is essential for anticipating constraints related to the location and ensuring compliance with safety standards.
Before final validation, a detailed quote is provided. It presents the total budget, estimated schedule, and technical specifications of your future dynamic display.
How many people are involved during assembly and what safety equipment is required?
Unpacking modules requires at least two qualified technicians. For the complete assembly of the giant screen, a team is mobilized, with size varying according to the dimensions of the structure.
Safety is paramount during installation and assembly. Specific equipment, such as harnesses, is mandatory for high installations to prevent any accidents.
Once assembled, the structure is easy to commission: simply plug in the power supply and sync content via the internet to enjoy your dynamic display.
What regular maintenance should be planned after installing a giant LED screen?
Maintenance is generally performed from the front using specific magnetized modules. This clever method allows intervention without dismantling the entire structure, greatly simplifying upkeep.
A real-time monitoring system detects and proactively prevents failures. Adequate ventilation is also essential to guarantee the reliability and lifespan of your dynamic display.
Rapid replacement of defective components ensures continuity of your project. With a set of spare parts, repairs maintain perfect colorimetric consistency.